One of the biggest advantages traditional cable TV held over early streaming services was the built-in DVR. Being able to pause live television, record a game while you were at work, or save an entire season of your favorite show made cable hard to give up.
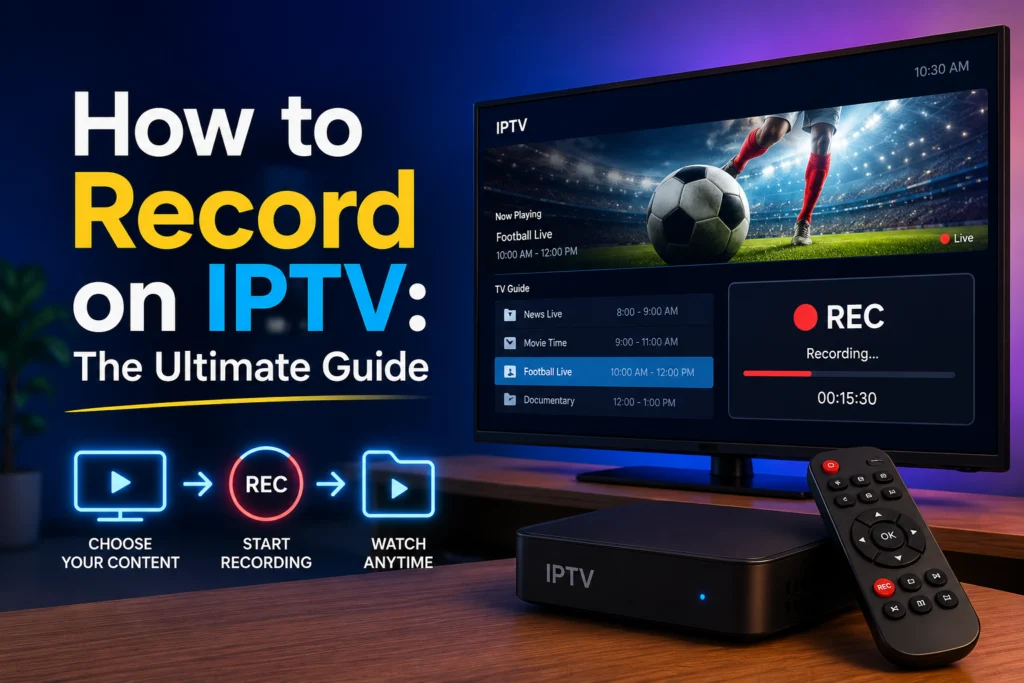
That advantage is officially gone. Modern IPTV applications let you record live TV just like a standard cable box. Whether you want to save a live hockey game, record a daily news broadcast, or capture a one-off pay-per-view event, you can easily do it with the right setup.
However, getting your recording features to work properly can sometimes feel confusing. Different apps have different rules, and certain devices lack the storage space needed for large video files. This guide will walk you through every recording method available across all major apps and devices, so you never miss a moment of your favorite content.
Can You Actually Record on IPTV?
Yes, you absolutely can record on IPTV. But there is a catch: not all IPTV apps and service providers support this feature.
Recording live television requires a few specific components to work together seamlessly. First, you need an IPTV app that has recording capabilities built into its code. Popular options like TiviMate, IPTV Smarters Pro, Kodi, and Perfect Player all support recording to varying degrees. Second, you need a compatible subscription. Some providers restrict recording features depending on the tier you purchase.
Finally, you need enough physical storage space or access to a cloud server to hold the video files. Understanding how these elements interact is the first step toward building your own streaming DVR.
The Two Types of IPTV Recording
When you decide to save a program, the video file has to go somewhere. This leaves you with two primary methods for capturing content.
Local Recording
Local recording saves the video file directly to your device’s internal storage or an attached external hard drive. The biggest benefit here is ownership. Once the file is on your device, you own it. You can watch the recording anytime, even if your internet goes down or your IPTV subscription expires.
This method works best on devices that can handle external storage, such as an Android TV box, a Windows PC, or an Amazon Firestick with an OTG cable. The main limitation is that your device must remain turned on, and the IPTV app must stay open while the recording takes place.
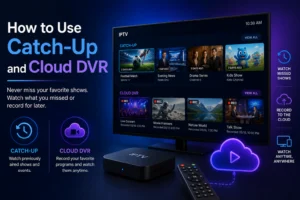
Cloud DVR (Catch-Up)
Instead of using your own hard drive, Cloud DVR—often referred to as Catch-Up—stores recordings on your provider’s private servers. You access this recorded content directly through your IPTV app.
Because you aren’t using your own hardware, this method saves massive amounts of storage space. However, providers usually only keep these recordings for a limited time, typically ranging from a few days to a week. You will also need an IPTV provider that actively supports Catch-Up. For instance, you can easily check if iptvcad supports Catch-Up on your specific subscription plan to take advantage of this hassle-free recording style.
How to Record on IPTV Using TiviMate (Best Method)
If you want the most reliable and feature-rich recording experience, TiviMate is the undisputed champion. It offers a premium interface that looks and acts exactly like a traditional cable box.
It is important to note that recording requires TiviMate Premium. While the free version is great for basic viewing, the paid upgrade unlocks the DVR capabilities. The premium version is incredibly affordable and entirely worth the small investment for the recording features alone.
Setting Up Recording in TiviMate
Before you hit the record button, you need to tell TiviMate where to save your files.
Step 1: Open TiviMate and navigate to Settings.
Step 2: Select the “Other” or “Recordings” tab from the menu.
Step 3: Choose your recording folder. You can select your device’s internal storage or point the app to an external USB drive.
Step 4: Set your default recording format.
Step 5: Save your settings and return to the main guide.
Recording a Live Channel in TiviMate
Capturing something you are currently watching is incredibly straightforward.
Step 1: Open the live channel you want to record.
Step 2: Press the “Menu” or “OK” button on your remote to bring up the playback controls.
Step 3: Scroll over and select the “Record” icon.
Step 4: The recording will start immediately, and a small red indicator will appear on your screen.
Step 5: When you are finished, press the menu button again and select “Stop Recording”.
Scheduling a Recording in TiviMate
Want to record a game while you are away from home? TiviMate’s scheduled recording feature handles this perfectly.
Step 1: Open the EPG (Electronic Program Guide).
Step 2: Scroll forward in time to find the upcoming program you want to save.
Step 3: Press “OK” or select the program with your remote.
Step 4: Choose “Record” or “Schedule Recording” from the popup menu.
Step 5: Confirm the schedule. TiviMate will automatically start capturing the stream when the program begins, provided your device is awake and the app is running in the background.
Watching Recorded Content in TiviMate
To view your saved shows, simply open the TiviMate menu and navigate to the “Recordings” section. Here, you will find a neatly organized library of your files. You can watch them, pause them, or delete old recordings to free up storage space.
How to Record Using IPTV Smarters Pro
IPTV Smarters is another highly popular application, but you need to ensure you are using the right version. The basic, free version of Smarters does not support recording. You must be running IPTV Smarters Pro.
Setting Up Recording in Smarters Pro
Step 1: Open the Smarters Pro settings menu from the home screen.
Step 2: Navigate to the recording settings.
Step 3: Set your desired storage location, ensuring you have enough free space.
Step 4: Save your preferences.
Recording a Live Channel in Smarters Pro
Step 1: Open the live channel you wish to capture.
Step 2: Tap the record button located on the bottom player controls.
Step 3: The recording begins instantly.
Step 4: Tap the stop button when the program finishes.
Limitations of Smarters Pro Recording
While Smarters Pro is highly functional, its recording suite is less flexible than TiviMate. It relies entirely on manual start and stop commands. You cannot schedule recordings in advance through the EPG guide, meaning you have to be physically present to trigger the capture.
How to Record IPTV on Kodi
Kodi is a powerful media center that supports IPTV recording through the PVR IPTV Simple Client add-on. Be warned: this is a complex setup that requires a PVR backend, most commonly Tvheadend. It is not recommended for beginners.
Simple Recording Method on Kodi
Step 1: Open a live channel through your configured PVR client.
Step 2: Open the context menu using your remote or keyboard.
Step 3: Select “Record”.
Step 4: The file will save directly to the folder you designated during your backend setup.
Scheduled Recording on Kodi
Once your Tvheadend backend is properly integrated, you can browse your Kodi EPG guide, select future programs, and set them to record automatically. The backend handles the capture process, saving the files to your predefined storage directory.
How to Record IPTV on Specific Devices
The hardware you use heavily dictates your recording capabilities. Here is how to handle DVR functions across the most common streaming devices.
On Amazon Firestick
The Amazon Firestick is incredibly popular, but its internal storage is notoriously limited. Trying to save high-definition video directly to a Firestick will fill up the device in a matter of minutes.
To bypass this, you need an OTG (On-The-Go) cable and a USB flash drive. Plug the OTG cable into your Firestick, connect your power source, and plug the USB drive into the available slot. Format the USB drive for external storage within the Firestick settings. Once configured, open TiviMate Premium and route your recordings directly to the newly attached USB drive.
On Android TV Box
An Android TV box is arguably the best device for local IPTV recording because it natively supports external storage. Most Android boxes feature dedicated USB ports. Simply connect a large external hard drive, format it, and set it as your default recording location in your preferred IPTV app.
On Windows PC
A Windows PC offers unlimited storage potential for heavy users. You can run TiviMate via an Android emulator, or you can use VLC Media Player for basic recording.
To record with VLC:
Step 1: Open VLC and click on “Media” in the top menu.
Step 2: Select “Open Network Stream”.
Step 3: Paste your M3U URL provided by your service.
Step 4: Instead of clicking “Play,” click the small dropdown arrow next to the play button.
Step 5: Select “Convert” or “Stream”.
Step 6: Choose your output file location on your computer.
Step 7: Click “Start” to begin pulling and recording the stream.
On iPhone and iPad
Apple’s iOS heavily restricts background app activity, making local recording exceptionally difficult. If you leave an IPTV app to answer a text, the operating system will likely pause the recording.
Because most iOS IPTV apps do not support reliable local recording, your best option is to rely entirely on Catch-Up and Cloud DVR from your provider. You can use the built-in iOS screen recorder for very short clips, but the quality will suffer, and it is entirely impractical for full TV shows.
On Android Phone and Tablet
Some Android mobile apps support local recording, but storage space is a massive hurdle. Mobile devices fill up fast. Recording a few hours of HD television will quickly eat through your phone’s memory. Similar to Apple devices, utilizing your provider’s Catch-Up feature is a much more practical solution for mobile viewing.
How to Use Catch-Up and Cloud DVR
Catch-Up allows you to watch recently aired content entirely on demand. Depending on your provider, you can usually scroll back anywhere from 24 hours to a full 7 days.
To access Catch-Up in TiviMate, simply open your EPG guide and scroll left into past programming. Any show with a designated icon next to it can be clicked and watched immediately. Smarters Pro has a dedicated Catch-Up section on its home screen, sorting past broadcasts by channel and date.
Remember, this feature only works if your provider actively supports it on their servers. If you are looking for a reliable service, check if iptvcad offers Catch-Up availability on your plan to completely bypass the need for external hard drives.
How Much Storage Do You Need for IPTV Recording?
If you choose to use local recording, you need to understand file sizes. Video files take up a massive amount of digital space. Here is a baseline storage calculator to help you plan:
- SD quality recording: approximately 1 GB per hour
- HD 720p recording: approximately 2 GB per hour
- Full HD 1080p recording: approximately 4 GB per hour
- 4K recording: approximately 10 GB per hour
Practical examples:
Recording a single 2-hour hockey game in 1080p will consume about 8 GB of space.
Recording a full 10-episode season of weekly 1-hour shows in HD will require roughly 20 GB.
We highly recommend dedicating a minimum of 64 GB exclusively to recordings. For heavy users, investing in a 1 TB external USB drive or a NAS (Network Attached Storage) system is the smartest long-term play.
Common Recording Problems and How to Fix Them
Recording streams over the internet introduces a few unique troubleshooting hurdles. Here is how to fix the most common issues.
Record button not showing in the app:
Your specific app might not support recording natively. Upgrade to TiviMate Premium to unlock full DVR features. Additionally, check if your iptv service actually allows recording on your specific subscription tier.
Recording starts but the file is empty:
This usually means your storage location is not set correctly, or you have completely run out of free space. It can also happen if you force-close the app while the recording is actively running.
Recording is choppy or low quality:
A drop in internet speed causes choppy video files. Always use a hardwired Ethernet connection rather than Wi-Fi when capturing live streams. If issues persist, try recording a slightly lower quality stream (like 720p instead of 1080p) for a more stable file.
Scheduled recording didn’t start:
Your streaming device likely went to sleep. You must disable sleep mode during your recording hours. Also, ensure your EPG data is fully updated; if the guide times are wrong, the trigger will fail.
Is It Legal to Record IPTV in Canada?
Navigating copyright law can feel intimidating, but Canadian regulations offer specific guidelines regarding personal recording.
Under Canadian copyright law, recording television broadcasts for strictly personal use is generally accepted. The critical distinction lies in distribution. Recording a hockey game to watch later in your living room carries a very low legal risk. Uploading that same recording to the internet or sharing it with friends steps into illegal distribution.
Your choice of provider also matters. Recording from a licensed, legitimate service provider like IPTV Canada keeps you on solid ground. Relying on unlicensed pirate streams adds unnecessary legal concerns to the mix. Sticking with a trusted, licensed provider like iptvcad ensures you remain on the safe side of the law while enjoying your personal DVR features.
Ditch the Cable Box for Good
Recording on IPTV is not only genuinely possible, but in many ways, it vastly outperforms traditional cable DVRs. You have the freedom to choose your own hardware, customize your storage sizes, and access cloud-based Catch-Up services from anywhere in the world.
Running TiviMate Premium on an Android box equipped with an external hard drive provides the ultimate recording setup for power users. If that feels too complex, leveraging Cloud DVR and Catch-Up features offers a simple, click-and-play alternative. The right combination of application, device, and storage transforms IPTV into a complete and total cable replacement.
Ready to test these features for yourself? Start a free trial with iptvcad today to experience seamless Catch-Up and premium recording functionalities firsthand.