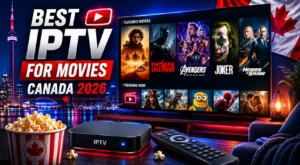
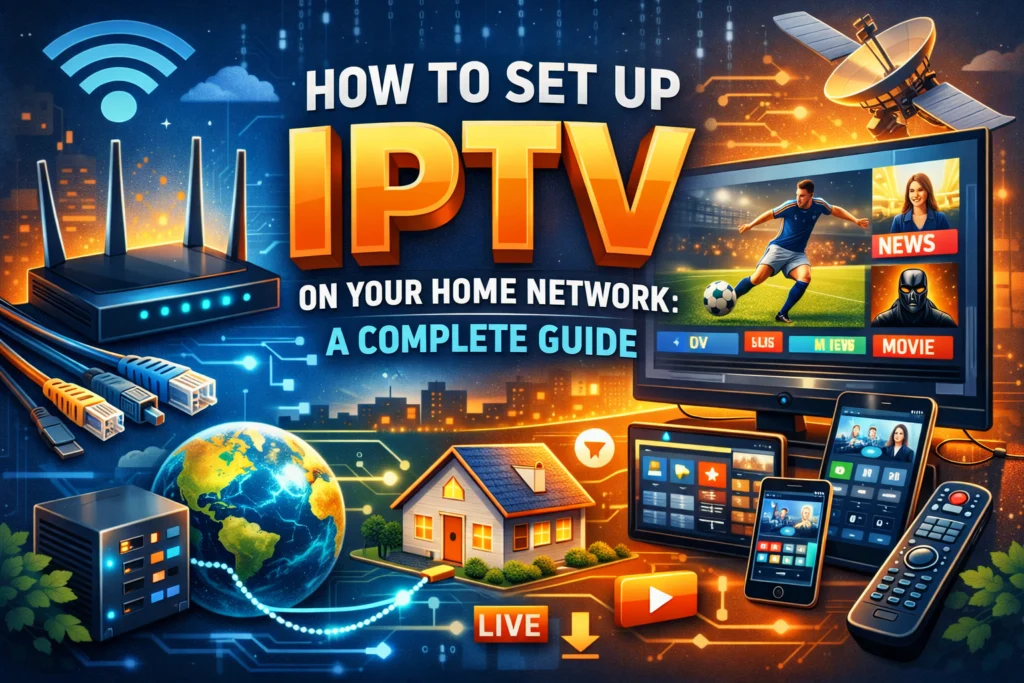
Streaming TV over the internet has become the go-to alternative for millions of households looking to ditch expensive cable contracts. IPTV, Internet Protocol Television, sits at the center of this shift, delivering live channels, on-demand content, and sports programming directly over your broadband connection. The quality of your experience, however, depends entirely on how well your home network is configured.
This guide walks you through every step of the IPTV installation process, from choosing the right device to fine-tuning your router settings, so you can enjoy smooth, buffer-free viewing from day one.
What You’ll Need Before You Start
Getting your IPTV home network setup right starts with having the right building blocks in place.
Equipment checklist:
- A stable broadband internet connection
- A compatible device (smart TV, Android TV box, PC, or streaming stick)
- An active IPTV subscription with an M3U playlist link or portal URL
- A modern router (Wi-Fi 5 or Wi-Fi 6 recommended)
Recommended internet speeds:
Bandwidth is the single biggest factor in streaming quality. As a general guideline:
- SD streaming: 5 Mbps or higher
- HD (720p): 5–10 Mbps per stream
- Full HD (1080p): 10–25 Mbps per stream
- 4K UHD: 25+ Mbps per stream
Netflix‘s own published recommendations align closely with these figures, 15 Mbps for 4K UHD and 5 Mbps for Full HD, making them a solid reference point for any high-quality video stream. If multiple devices in your household will be streaming simultaneously, multiply accordingly and look for a plan with at least 100 Mbps total to avoid congestion.
Choosing the right IPTV provider is just as important as your hardware. Look for a service that offers a wide channel selection, reliable uptime, responsive customer support, and a legal, licensed content library. A provider like IPTV Canada, for example, is worth evaluating for users in that region.
Step 1: Choose Your IPTV Device
IPTV works across a wide range of devices, so you likely already own something compatible.
- Smart TV: Most modern smart TVs support IPTV apps directly from their app store. Samsung and LG users can search for apps like IPTV Smarters or GSE Smart IPTV.
- Android TV Box: These dedicated streaming boxes offer the most flexibility. You can install virtually any IPTV app from the Google Play Store and configure it exactly how you like.
- Amazon Fire Stick: A popular and affordable option. Apps like IPTV Smarters Pro can be sideloaded via the Downloader app after enabling “Apps from Unknown Sources” in your device settings.
- PC or Laptop: VLC Media Player and Kodi are both capable of loading M3U playlists for IPTV playback on desktop.
- Roku: Roku’s closed app ecosystem limits direct M3U support, so options are more restricted compared to Android or Fire TV devices.
Step 2: Install Your IPTV App
Once you’ve chosen your device, the next step in your IPTV installation is downloading the right app.
On Android TV or Android Box:
Open the Google Play Store, search for your preferred IPTV player (IPTV Smarters, TiviMate, or Perfect Player are widely used), and install it directly.
On Amazon Fire Stick:
- Go to Settings > My Fire TV > Developer Options
- Enable Apps from Unknown Sources
- Install the Downloader app from the Amazon App Store
- Use Downloader to navigate to the IPTV app’s APK download link and install it
On PC:
Download VLC Media Player or Kodi from their respective official websites. Both support M3U playlist loading without additional configuration.
On Smart TV:
Navigate to your TV’s app store, search for your preferred IPTV app, and install. If the app isn’t available in your region’s store, an Android TV box connected via HDMI gives you full flexibility.
Step 3: Configure Your IPTV Settings
With your app installed, you’ll need to connect it to your iptv subscription.
Enter your M3U link or portal URL:
Open the app and look for an option labeled “Add Playlist,” “M3U URL,” or “Xtream Codes API.” Your IPTV provider will supply the exact link or login credentials when you sign up.
Set up the Electronic Program Guide (EPG):
The EPG shows channel schedules and program listings, much like a traditional TV guide. Your provider typically supplies an EPG URL alongside your M3U link. Enter it in the app’s EPG settings to enable it.
Adjust video and audio settings:
If your connection is showing signs of strain, stuttering, pixelation, or loading delays, drop the stream quality from 4K or 1080p to 720p within the app settings. Most IPTV apps also offer a buffer size adjustment; increasing this can smooth out short dips in network speed.
Step 4: Connect IPTV to Your Home Network
How your device connects to the internet has a significant impact on streaming quality.
Wired (Ethernet) vs. Wireless:
A wired Ethernet connection will always outperform Wi-Fi for IPTV. It delivers a more stable, lower-latency signal with no interference from neighboring networks or physical obstacles. If your streaming device supports Ethernet, or you can use a USB-to-Ethernet adapter, it’s the most reliable choice.
Optimizing Wi-Fi for IPTV:
If running a cable isn’t practical, these adjustments make a real difference:
- Use the 5 GHz band rather than 2.4 GHz. It offers faster speeds and less interference, though it has a shorter range.
- Position your router centrally and as close to your streaming device as possible. Walls, floors, and appliances all weaken the signal.
- Reduce network congestion by pausing large downloads or background updates while streaming.
Enable QoS on your router:
Quality of Service (QoS) settings tell your router to prioritize certain types of traffic, like your IPTV stream, over less time-sensitive activities like file downloads.
On TP-Link routers (newer blue UI), go to Advanced > QoS > Settings, check the Enable QoS box, enter your maximum upload and download bandwidth, and add a high-priority rule for your streaming device. Note that QoS and NAT Boost cannot run at the same time on some TP-Link models, so you may need to disable NAT Boost first.
On ASUS routers, log into your router’s web management interface, click Adaptive QoE in the left menu, toggle QoS to ON, and select Streaming Mode to prioritize video traffic. ASUS’s documentation notes that these features don’t increase your total bandwidth, they help you use what you already have more efficiently.
Step 5: Test Your IPTV Setup
Before settling in for the evening, run a quick test across a few channels.
- Check channel loading time. Channels should load within a few seconds. Consistent delays suggest a bandwidth or server issue.
- Test across different channel types. SD, HD, and any 4K channels should all be verified.
- Run a speed test. Use Fast.com or Speedtest by Ookla to confirm your connection is hitting the speeds your plan promises.
Common issues and quick fixes:
| Problem | Likely Cause | Fix |
| Buffering | Insufficient bandwidth or Wi-Fi interference | Switch to Ethernet or reduce stream quality |
| Black screen | Incorrect M3U link or expired subscription | Verify credentials with your provider |
| Audio/video sync | Device processing load | Restart the app or device |
| EPG not loading | Missing or incorrect EPG URL | Re-enter the URL from your provider |
Step 6: Start Streaming, and Scale Up
With everything running, take a few minutes to explore your IPTV app’s interface. Most apps organize content into categories: Live TV, Movies, Series, and Catch-Up. Favorites and recently watched sections make navigation faster once you’ve found your preferred channels.
If your subscription supports multiple simultaneous streams, you can replicate this setup on a second device, a bedroom TV, tablet, or smartphone, without any additional configuration steps.
Advanced Options: VPN, Smart DNS, and More

Using a VPN: A VPN can help bypass ISP throttling, where your internet provider intentionally slows down streaming traffic, and provides an added layer of privacy. Look for a VPN with dedicated streaming servers and strong speeds. Keep in mind that a VPN does add some overhead, so test your connection speed with it active.
Smart DNS: If your main goal is accessing geo-restricted content rather than privacy, Smart DNS is a lighter-weight alternative to a VPN. It reroutes only the traffic needed to bypass regional blocks without encrypting your full connection, resulting in less speed impact.
Start Watching with Confidence
Setting up IPTV on your home network takes less than an hour when you follow the right steps. Choose a compatible device, install a reliable IPTV app, enter your subscription credentials, and give your network a few targeted optimizations, wired connection where possible, QoS enabled, and the 5 GHz Wi-Fi band in use. That combination covers the vast majority of setup challenges most users encounter.
IPTV technology continues to improve, with higher compression efficiency and better app interfaces rolling out regularly. Keeping your apps updated and revisiting your router settings as your household’s streaming habits evolve will keep your setup performing at its best.
Ready to get started? Sign up with IPTV Canada and follow the steps above for a seamless IPTV experience from your very first stream.